Pizza nights at home are a sacred ritual in many families that offers an enjoyable way to come together over a universally loved meal. However, as convenient as pizzas delivered or frozen options can be, nothing beats the taste and satisfaction of a pizza from scratch cooked in your own kitchen. Though making pizzas may be very simple at times, achieving a nice pizza especially when it comes to the crust can be like climbing Everest through cooking. This is where parbaking your crust comes into play transforming the homemade pizza experience.
Understanding Parbake Pizza Crust
Parbaking is short for partial baking, which involves prebaking the pizza dough before any topping is added on it. The technique is not strictly confined to commercial kitchens; it’s entirely homefriendly and helps raise your culinary game in making pizza.
But what makes parbaked crusts different? The main difference lies in their texture and convenience. A partially baked crust will have a crispy bottom but light and airy inside thus solving the problem with most homemade pizzas of having too wet base or undercooked bases. Depending on whether one prefers thin, crisp Roman pies or thick American pan ones, parbaked crusts provide good platforms for all choices.
Definition and Purpose of Parbaking
Parbaking, also known as “partial baking,” is the technique in cooking whereby a food item like pizza crust is partially baked before being finished later. In the instance of parbake pizza crusts, the dough is prebaked until it is partially cooked before cooled and stored for later use. The intention behind preparing a parbake pizza crust is to strike a balance between convenience and quality. When you partially cook your crust in advance, it saves time and effort, especially for commercial or fast moving kitchen environments when you are making pizzas in bulk. This helps ensure that the crusts have a good structure and will not turn soggy after being topped then finished off in an oven.

The graph above shows how different times of parbaking affect pizza crust texture, where the Xaxis measures minutes and the Yaxis is a subjective scale rating from “Soft” to “Crispy”. This graph brings out the best time for enjoying the crusts which stands at 20 mins and this makes them crispy.
Benefits of Parbaking Your Pizza Crust
Here are some advantages of using this method while creating your own pie:
Time Efficiency: By preparing the dough partially beforehand you save time assembling toppings and baking during the final stage on a particular night when you want pizzas. It is particularly useful during house parties or when you want to avoid starving guests waiting for long hours.
Perfect Texture: Another advantage of parbaking is getting crisper bases that saves from soggy crust syndrome by giving more chances for the dough to start cooking.
How Parbake Crust Differs from Traditional Pizza Dough
PreBaking Stage: Unlike being rawly baked directly on top of firewood oven, classical pizza dough would mostly be shaped first then toppings added before getting into ovens. On the other hand, par bake crusts go through prebaking stage which involves partial baking prior to topping them up going back to finish.
Texture and Structure: Normally; par bake crusts tend to have a more solid texture as well as firmer structure compared to traditional pizza dough. This comes about because during the initial stage of baking sets up its structure such that it can withstand heavy toppings without becoming wet.
Convenience: The prerogative of using par bake crusts is aided by their ability to be made much earlier in advance so that they can be kept for future usage purposes. It may prove helpful specifically due to busy homes or many people’s kitchens where time becomes crucial.
Consistency: Partially baking par bake crust under controlled conditions brings about some consistency in this final product. This uniformity provides some benefits particularly when desired at commercial settings.
Common Misconceptions About Parbake Crusts
Lack of Freshness: An assumption made by some is that parbake crusts are not as fresh as those pizzas made from scratch. Conversely, if properly handled and stored, par bake crusts can hold their freshness for an extended duration.
Inferior Taste and Texture: It is also believed by some individuals that parbake crusts have a bad taste and texture compared to typical pizza dough. Since there are slight differences in the texture due to this prebaking process, par bake crust can still make deliciously crispy pizzas if they are well prepared.
Difficulty in Handling: Parbaked crusts may be difficult to handle or may break easilyfalling off the pan. You can minimize these problems by defrosting the crust before use and carefully transferring it into the oven.
Limited Customization: Finally, people think using par bake crusts does not allow one to customize his/her pizza largely like traditional pizza dough does. Nevertheless, just like classical pizza dough, you can top up a wide variety of ingredients on a par bake crust which hence means that it is possible for such a person’s recipe to show lots of customization as well.
The Science of Crunchy Crusts
The crunchy nature of pizza crusts is not a matter of chance or luck, but rather it is as a result of blending scientific principles with careful cooking techniques. By understanding the science behind this crunchiness, home cooks and professional chefs can achieve the perfect texture every time.
The Role of Moisture in Crust Texture
Browning on Crust: Moisture content also affects the browning of the crust. Extra humidity can prevent Maillard reaction hence no enough browning and taste that goes hand in hand with wellcooked base. In order to make this reaction happen, you need to partially bake your pizza base so that its flavor and look are improved as well.
Baking Surface Comparison Chart
|
Baking Surface Comparison Chart
|
Advantages
|
Disadvantages
|
|---|---|---|
|
Pizza Stone
|
Provides even heat distribution.
|
Requires preheating and careful handling.
|
|
Absorbs excess moisture for a crispier crust.
|
Can be prone to cracking if not properly cared for.
|
|
|
Mimics the effect of a brick oven.
|
Relatively slow to preheat.
|
|
|
Baking Steel
|
Heats up quickly for fast baking.
|
Heavier and more expensive than other options.
|
|
Conducts heat evenly for a consistent bake.
|
Requires preheating.
|
|
|
Produces a crispier crust with good oven spring.
|
|
|
|
Baking Sheet
|
Readily available and easy to use.
|
Can result in a softer crust compared to stone or steel.
|
|
Less expensive than stone or steel.
|
May require parchment paper or cornmeal to prevent sticking.
|
|
|
Can be used for other baking purposes.
|
|
Importance of Proper Prebaking Techniques
Uniform Heating: For uniform texture, proper prebaking techniques ensure even heating throughout the crust. Any parts in between might either end up being undone or become too crispy when uneven heat gets applied.
Poking Holes: During baking process, making tiny holes by docking prevents big air bubbles from appearing inside them while cooking. This way there will be even baking which helps maintain shape therefore contributing to overall crispness.
Understanding Gluten Development and Its Impact on Crust Texture
Gluten Formation: For instance wheat flour contains gluten which is protein responsible for determining how crust would be like at the end. When mixed with water and kneaded flour forms gluten which gives elasticity and structure against rise within dough.
Balancing Gluten Development: On one hand gluten development leads into chewiness but then excessively leavened bread has more toughness combined with denseness. Proper ways of kneading are such as gentle folding and stretching that help to make it without overworking dough.
Effects of Oven Temperature on Crust Crispiness
Formation of crust: A crispy crust is made possible because the oven is at a high temperature. As soon as the dough touches a hot surface, all moisture contained in it evaporates rapidly and this steam puffs up the crust. High heat also stimulates Maillard reaction thereby giving rise to browning and taste enhancement.
Temperature Control: The desired level of crispiness can only be achieved by controlling the oven temperature during baking process. When too low, it might appear puffy and have no color while if higher than required, burning will occur on edge of pizza pie. To avoid this kind of problem users should preheat their ovens using oven thermometer.
Ingredient Ratios Chart for Parbake Pizza Crust
|
Ingredient
|
Quantity for 1 Medium Crust
|
Quantity for 2 Medium Crusts
|
|---|---|---|
|
Flour (cups)
|
2
|
4
|
|
Water (ml)
|
150
|
300
|
|
Yeast (teaspoon)
|
1
|
2
|
|
Salt (teaspoon)
|
0.5
|
1
|
|
Olive Oil (tbsp)
|
1
|
2
|
Tips for Preparing the Perfect Parbake Pizza Crust
Creating the perfect crust requires attention to detail and adherence to certain techniques. Here are some tips that will assist you in coming up with a perfect crust:
Choosing the Right Ingredients
High Quality Flour: Choose highprotein bread flour which has more gluten content. This helps form a chewy texture and strong structure when baked.
Yeast: Fresh or active dry yeast or instant yeast must be used for optimal rise and flavor development of the dough. Ensure that your yeast is not expired since this affects its results.
Salt: Salt adds flavor besides helping in regulating yeast activity, strengthening gluten formation. Use fine sea salt or kosher salt for even distribution throughout the dough.
Water: Hydrate dough uniformly by using filtered or room temperature water. Do not use very hot water as it can kill the yeast and cold water also slows down fermentation.
Proper Kneading and Shaping Techniques
Gentle Kneading: Gently knead the dough until it forms an elastic and smooth ball; overkneading may result in tough crusts while underkneading may lead to weak structures.
Resting Time: After kneading, leave dough to rest for at least 1015 minutes so that gluten relaxes making it easier to shape.
Uniform Thickness: To enable even baking, roll or stretch the dough into uniform thickness. An uneven crust may mean some parts will be poorly cooked while others will become too crispy.
Importance of Preheating Oven And Baking Surface
Preheat Oven: At least 30 minutes before baking, preheat your oven to recommended temperatures which usually range around 450°F (230°C) . Rapid rise and correct oven spring resulting in crispier crust only occur when using hot oven.
Baking Surface: For best results, use pizza stone or baking steel for your homemade pizzas.Preheat the baking surface along with the oven to ensure even heat distribution and a crispy bottom crust. In case you do not have a pizza stone, you can use a preheated baking sheet.
Tips for Achieving an Even Bake
Docking: By docking the dough through making holes using a fork or a dough docker, one prevents large air bubbles from occurring during baking. This ensures that the crust bakes evenly while maintaining its shape.
Rotate the Pizza: Halfway through baking rotate the pizza so as to achieve uniformity in browning and cooking. This is especially important if your oven has hot spots that can cause uneven baking.
Monitor the Bake: Pay close attention to it as it is still baked not to burn it . Take out pizza from oven when crust turns golden brown and edges become crispy.
All these tips about ingredient selection, kneading, preheating, and ensuring even bake will help you prepare such parbake pizzas just like an expert would! A perfectly parbake pizza should be crunchy enough to bite yet light enough to melt in mouth.
Step-by-Step Guide to Making Parbake Pizza Crust
Perfecting parbake pizza crust will enable you to make continuously delicious homemade pies. Below is an explanatory guide on how every single step ought to be approached in order that you may get accurate results whenever there is desire for nice base.
Mixing the Dough
Start with a pinch of sugar and lukewarm water (around 110°F or 45°C) to feed your yeast. This process is very important for reactivation of the yeast and its readiness to perform its task. After about five to ten minute, it will be frothy which is an indication that the yeast is active.
Pour in allpurpose flour that you have chosen into a large bowl, add the activated yeast mixture, salt together with oil drizzle. Mix until this ingredients forms a shaggy dough; sticky but not overly so. If it’s too dry, then gradually add one teaspoonful of water at a time until you get what you need.
Kneading and Resting
This development happens when kneading the dough helps in creating gluten networks in your dough which in turn provide structure and gives crispiness to your crust. Knead on lightly floured fruit for about 710 minutes until smooth plus elastic.
At this point, collect your dough into a ball shape then put it in an oiled bowl as you cover it using either damp towel or plastic wrap before allowing it some rest. This rest usually needs to two hours at room temperature during which dough doubles up thanks to fermentation that starts through activation by the yeast cells.
Rolling Out and Shaping
Once risen properly, shape the crusts next. Gently push down the dough if there are any air bubbles present then divide accordingly depending on how you want them sized or thickened.
Use a rolling pin on a surface that has been dusted with some flour to roll out the dough evenly across its thicknesses as well as make sure baking process takes place uniformly regardless whether making traditional circle shape, rustic rectangle one or even something funky like I do often keeping thickness same throughout.
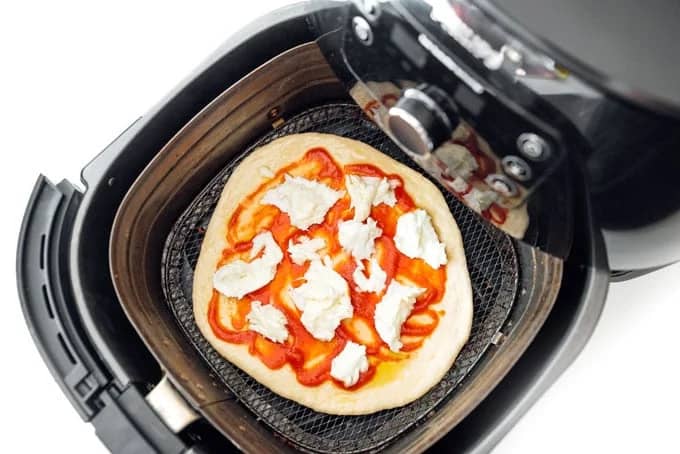
The Parbaking Process
This temp should be high such as 450°F (230°C) making sure we have reached goldbrown crusts. When heating, if you have a pizza stone or baking steel, put it in the oven with them. In practice, these surfaces are very important for parbaking because they emulate the wood fired ovens of Naples.
Place shaped dough on parchment paper for easy handling. Put it directly onto the hot stone or a baking sheet as well. The crust should be cooked until it is set and just starts to get colored around 57 minutes not yet completely baked through.
Remove from oven and place on wire rack after parbaked. Next step will involve adding the desired toppings either on top of it and continue baking or alternatively let stand until completely cold to freeze for future usage as desired.
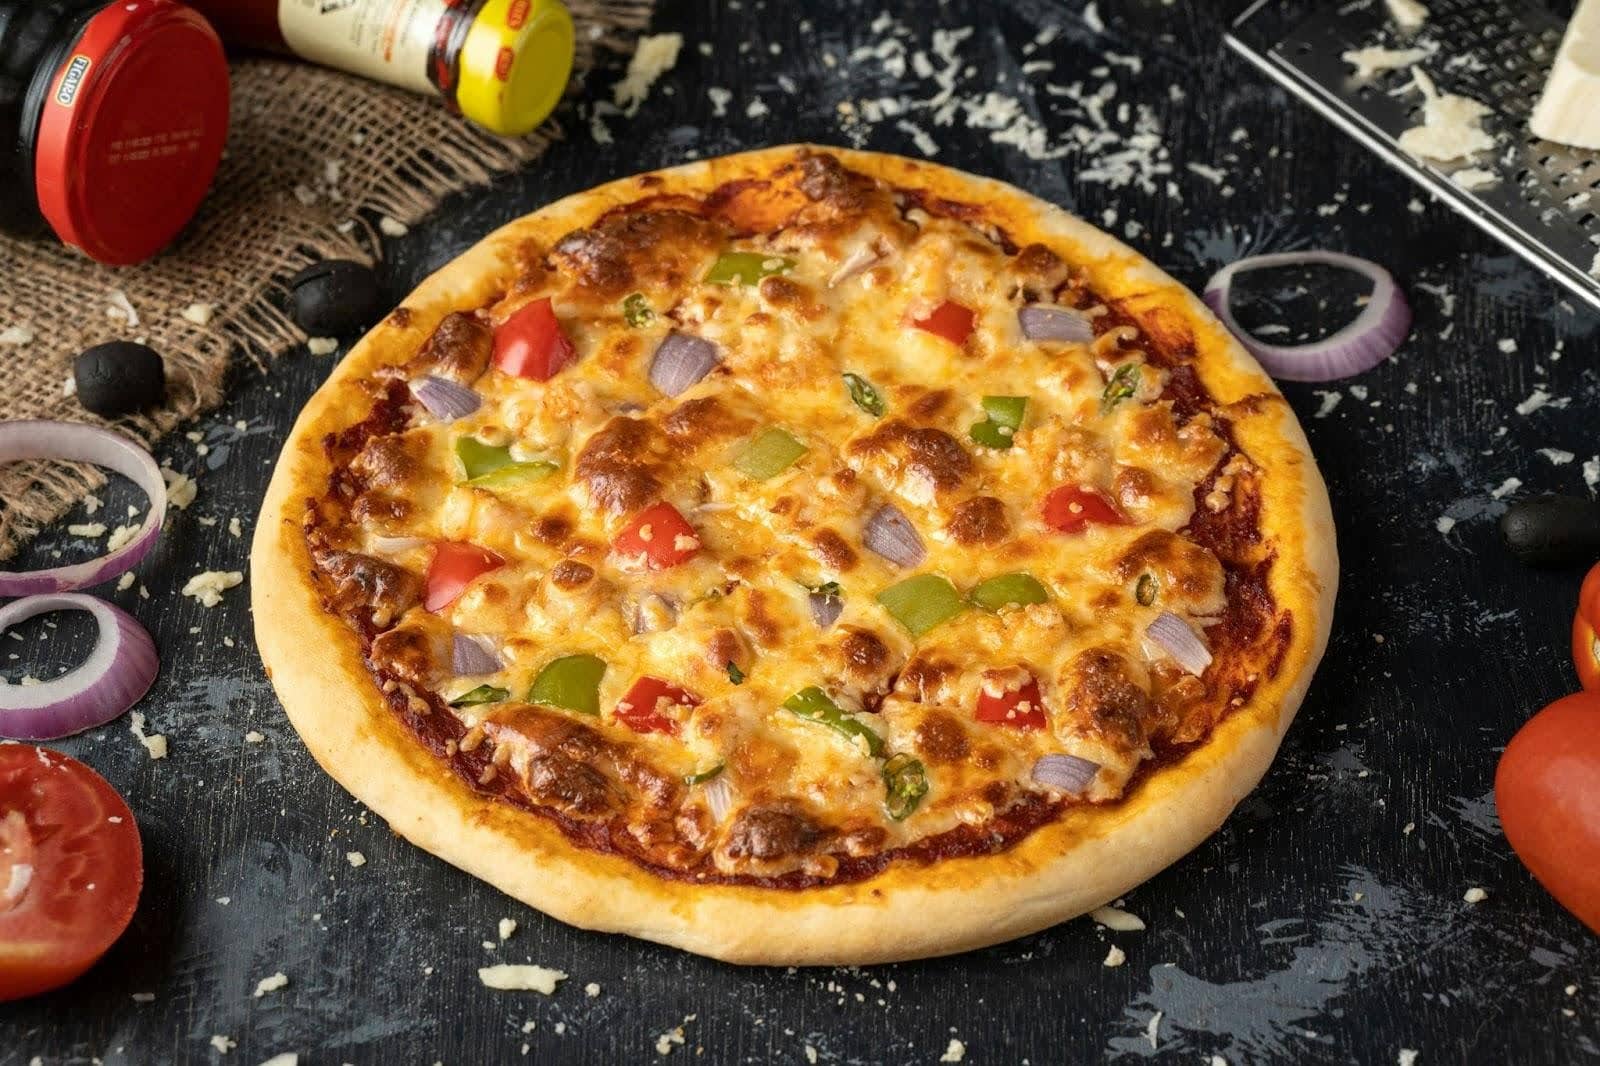
Toppings and Combinations for Your Parbaked Crust
One thing about homemade pizzas is that they can be topped with anything thus accommodating all palatal preferences plus diet needs. Some ideas include:
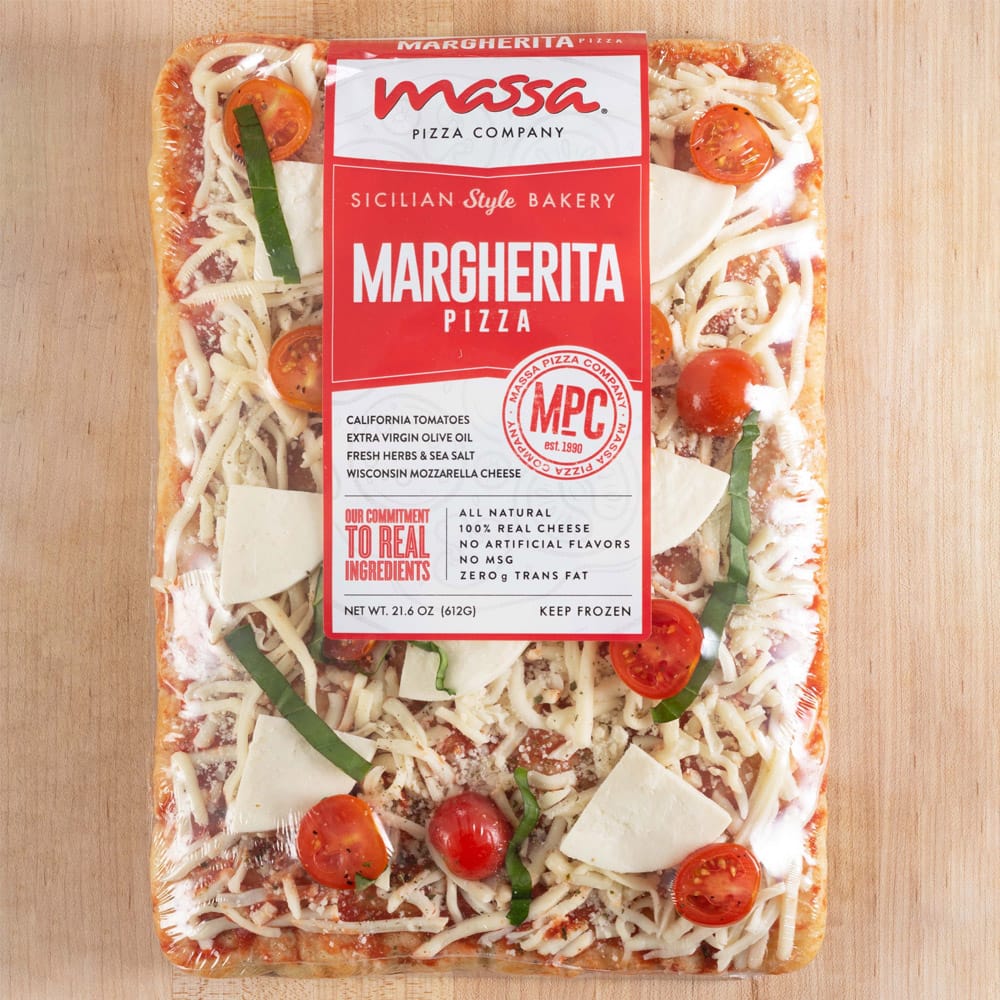
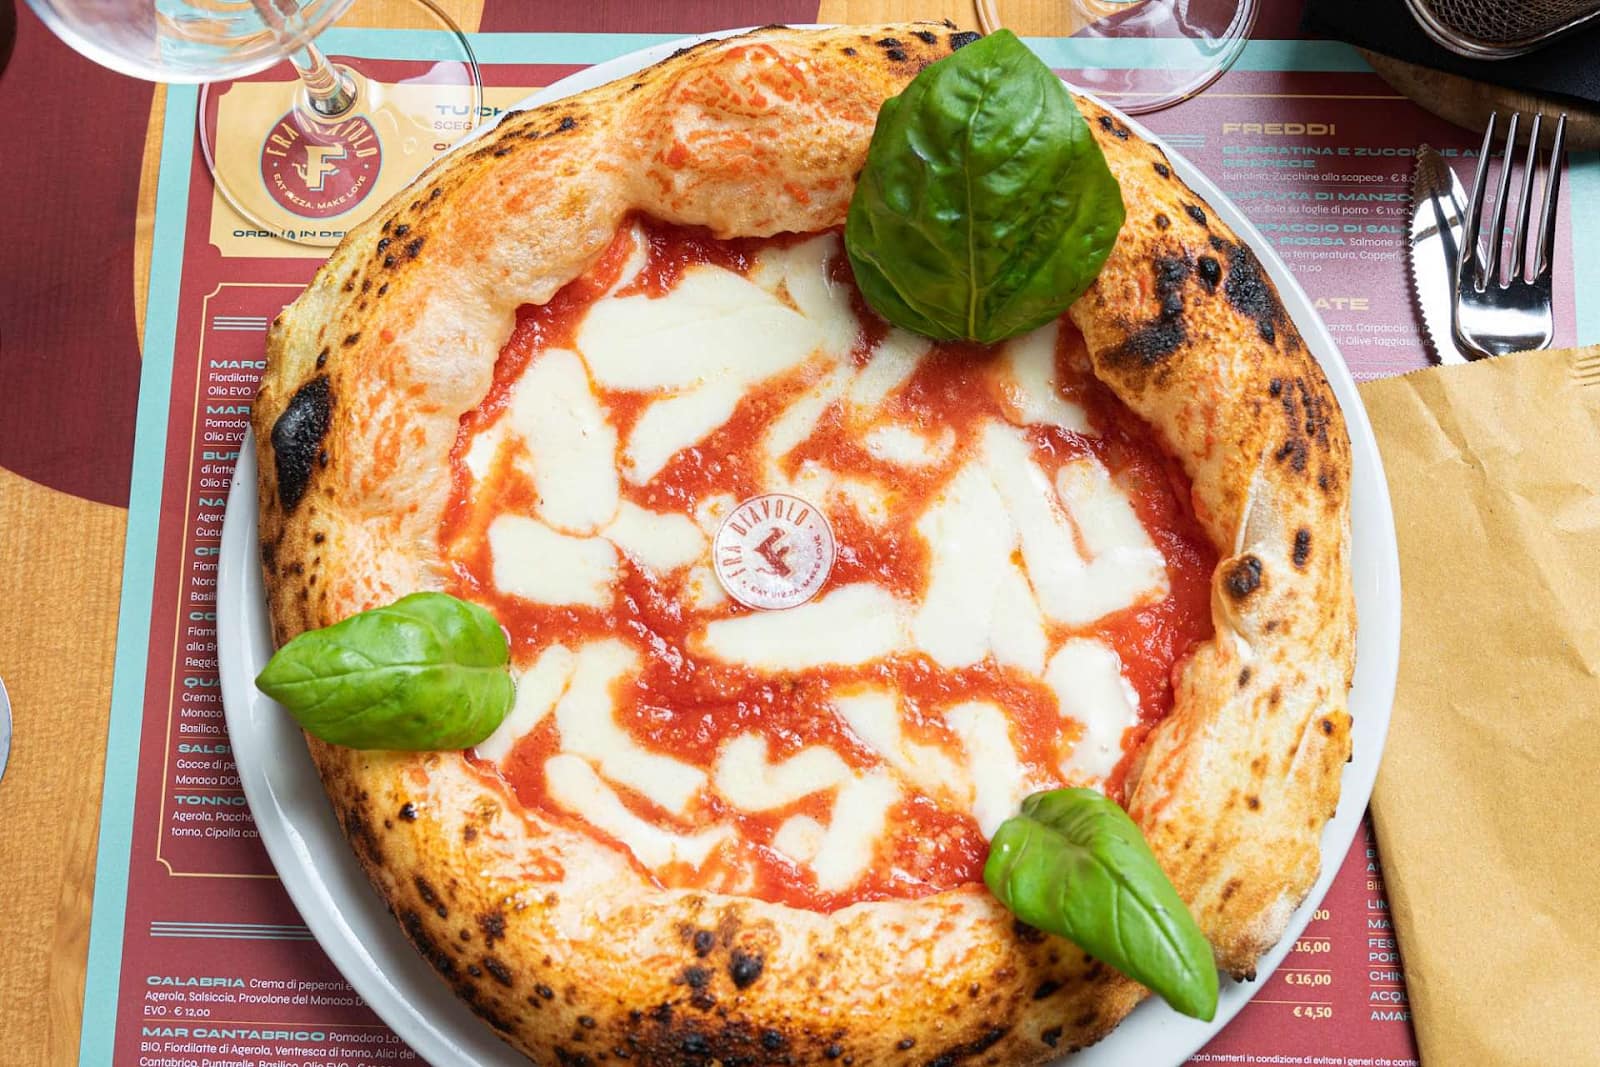
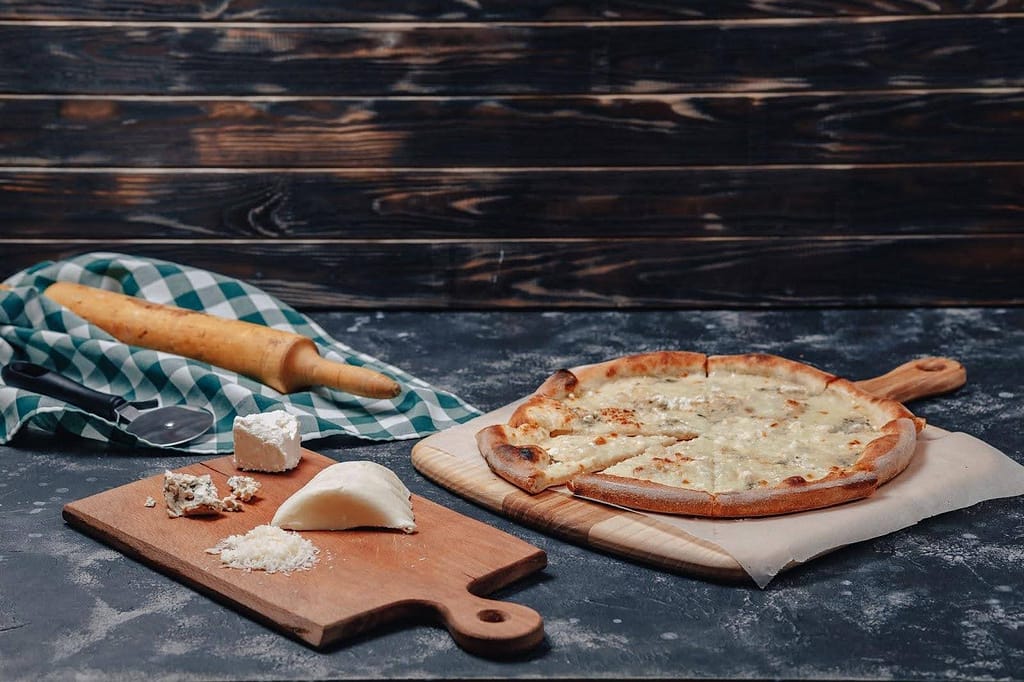
Classic Margherita: Tomato sauce, mozzarella cheese slices fresh basil leaves drizzled with olive oil.
Meat Lovers: start off by applying some tomato sauce then topping up gradually (in this order) with bacon pieces ham sausage and pepperoni slices before finally cheese as many people may like it to be melted anyway.
Vegetarian Delight: This could consist of different types vegetables such as bell peppers onions mushrooms spinach olives which would go pretty well alongside tomatoes paste plus cheese.
However less is better when putting toppings onto your par baked crust because an overloaded pizza would make your base soggy while at the same time causing toppings not to cook adequately all over.
Pairing Flavors: Tips for a Balanced Pizza
- To establish balance between salty and sweet, one can team up salty cheeses like feta with sweet toppings like pineapple.
- Different texture of pizza toppings is important, for instance, one should combine crunchy stuff such as bell peppers with creamy ones like ricotta cheese.
- Some tastes complement each other. These are tomatoes with basil or bacon with caramelized onions.
Customizing Your Pizza: Dietary Considerations
- Vegan Options: Instead of traditional cheese, use vegan cheese alternatives; plantbased proteins (like tofu or tempeh) and lots of fresh vegetables.
- GlutenFree Options: Substituting rice flour or cauliflower crusts that don’t contain gluten, going for sauce which is glutenfree and making sure all the ingredients used on top of the crust are glutenfree certified.
Freezing and Storage Guidelines
|
Action
|
Description
|
|---|---|
|
Cooling
|
Let crust cool on a wire rack for X minutes.
|
|
Wrapping
|
Wrap cooled crust in cling film, then aluminum foil.
|
|
Freezing
|
Place wrapped crusts in the freezer. Can be stored for up to X months.
|
|
Thawing
|
Move to refrigerator X hours before use or thaw at room temperature for X minutes.
|
|
Finishing Bake
|
Add toppings and bake at 450°F (230°C) for XXX minutes or until desired doneness.
|
Storing and Reusing Parbake Pizza Crusts
Best Practices for Cooling and Storing Parbaked Crusts
Wait until the partially baked pizza crust is cool to ensure that it does not turn into a soggy mess.
Afterwards, seal them in plastic bags or containers to maintain their freshness.
How to Wrap and Freeze for Optimal Freshness?
For neatness, wrap each of these cooled crusts tightly with a cling film.
Wrap again in aluminum foil, this will act as an additional barrier against dampness.
To keep track of their freshness date wrapped crusts with the date of freezing.
Ensure they are stored flat so that they don’t change shape after being kept in the freezer for sometime.
Reheating Tips for a Crispy Result
To hot up your oven at 450°F (230°C) is very important because you need even heating throughout your pizza pan or stone once you begin baking it there.
Remove any number of frozen crust from the reezer that you wish then unwrap it/them.
Put directly on baking sheet or pizza stone
You should bake between 8 and 10 minutes or until they become crispy on sides and warmed through the middle.
Add favorite toppings before putting back into fire to cook as preferred.
There you have it; your parbake pizza crusts have been freshly reheated so enjoy them while still hot!
Parbake Pizza Crust: Common Mistakes to Avoid
Dough Kneading Mistakes
In case of over kneading, the dough will be hard and heavy because of excessive gluten development.
On the other hand, inadequate kneading can result in a weakly structured dough that is not elastic leading to either too soft or crumbly crust.
Avoid these by observing recipe directions regarding the required kneading time as well as monitoring the texture of your dough. It should be silky, stretchy like rubber and slightly sticky.
Oven Temperature Mistakes
Wrong oven temperature may affect texture and taste of the parbake pizza crusts.
Too high baking temperatures would give you undercooked centers with burnt edges while also too low temperatures could lead to pallid and soggy crusts.
To get a uniformly baked thin browned crust, always preheat your oven to 450°F (230°C) which is optimum frying point given in most recipes.
Freezing Errors
When parbake pizza crusts are improperly frozen and reheated they undergo some textural changes and this is so commonly accompanied by loss in flavors.
Unpackaged frozen crusts become freezerburnt hence dry rough textured ones thus rendering it unpalatable when consumed.
Overdoing it will result into over crispy or burnt crust on top after reheating for long at a high temperature.
Keep such cooled off muffins packed firmly in aluminum foil tied with cling film before freezing them; follow suggested reheat durations as well as temperatures so that they turn out neither overly crunchy nor burnt.
FAQs on PreBaked Pizza Crust
Can I prebake pizza crust without a pizza stone?
Yes, you can prebake the pizza crust without a pizza stone. A pizza stone helps distribute heat evenly and produces a crisper crust but similar results can be obtained through the use of a baking sheet or even a preheated castiron skillet. Start by ensuring that your baking surface is already heated to make it possible for you to have crispy bottom crust.
How long should I store parbaked pizza crusts?
Normally, parbaked pizzas are suitable for storage in the freezer for about 23 months only. The appropriate wrapping and storage methods must be applied when storing these items. In order to prevent freezer burn, tightly wrap them with cling film and aluminum foil. For future reference, date the wrapped crusts based on when they were frozen.
Are there any shortcuts to this parbaking process?
Although parbaking of the pizza crusts is crucial before applying toppings in order to ensure a crisp base rather than a damp one, there are shortcuts:
- Shorter time of prebaking: In case you are short on time, you may decide to do this process quickly but note that your dough will not have enough crunch.
- Higher oven temperature: You may slightly increase your oven’s temperature so as to quicken the process of partially cooking it; however, take care not to burn its edges.
- Making multiple pie shells ahead: Prepare as many pie shells as possible and freeze any extras after parbaking them for future use; this way whenever needed you will have ready baked pie shells for quick homemade pizzas that would be easy and convenient too.
Conclusion: Raising the Bar on Homemade Pizza with Parbake Pizza Crust
This is all a process of art and science, which is also full of tiny victories for the chef in the kitchen. Parbaking technique lets you have crispier pizzas with better texture and taste as well as enjoy cooking at a new level of ease. The crisper base and light crust that comes with parbake pizza crust gives it a distinct, mouthwatering taste and possibility to make homemade pizza whenever we want, inviting our beloved ones to join us in enjoying a pizza night at any time.